Setup JIT SSO in salesforce using AAD as IDP
Configure Azure AD SSO
- Create an Azure AD subscription using link Free AAD Account
- Adding Salesforce from the gallery:
- Click on Azure Active Directory service
- On the left navigation pane, select the Enterprise Applications and then select All Applications.
- To add new application, select New application. From the options that appear, you need to select the relevant option according to your organization. After that, click Create button
- Create an Azure AD test user:
- From the left pane in the Azure portal, select Azure Active Directory, select Users, and then select All users.
- Select New user at the top of the screen. In the Name field, enter desired name. Select the Show password check box, and then write down the value that's displayed in the Password box. Click Create.
- Assign the Azure AD test user:
- In the Azure portal, select Enterprise Applications, and then select All applications
- In the Azure portal, select Enterprise Applications, and then select All applications
- In the app's overview page, find the Manage section and select Users and groups
- Click on Add user/group
- Select Add user, then select Users and groups in the Add Assignment dialog
- In the Users and groups dialog, select the created user from the Users list, then click the Select button at the bottom of the screen
- If you are expecting a role to be assigned to the users, you can select it from the Select a role dropdown. If no role has been set up for this app, you see "Default Access" role selected.
- In the Add Assignment dialog, click the Assign button.
Follow these steps to enable Azure AD SSO in the Azure portal.
In the Azure portal, on the Salesforce application integration page, find the Manage section and select single sign-on.
On the Select a single sign-on method page, select SAML.
On the Set up single sign-on with SAML page, click the edit/pen icon for Basic SAML Configuration to edit the settings.
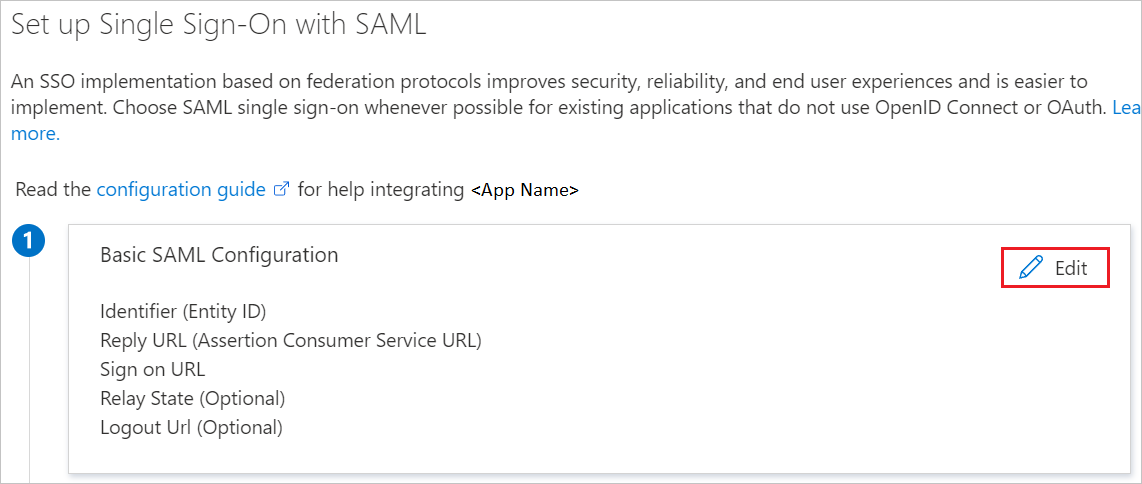
On the Basic SAML Configuration section, enter the values for the following fields:
a. In the Identifier textbox, type the value using the following pattern:
Enterprise account:
https://<subdomain>.my.salesforce.comDeveloper account:
https://<subdomain>-dev-ed.my.salesforce.comb. In the Reply URL textbox, type the value using the following pattern:
Enterprise account:
https://<subdomain>.my.salesforce.comDeveloper account:
https://<subdomain>-dev-ed.my.salesforce.comc. In the Sign-on URL textbox, type the value using the following pattern:
Enterprise account:
https://<subdomain>.my.salesforce.comDeveloper account:
https://<subdomain>-dev-ed.my.salesforce.comThe Salesforce application expects specific SAML assertions, which requires you to have specific attributes in your SAML token attributes configuration.
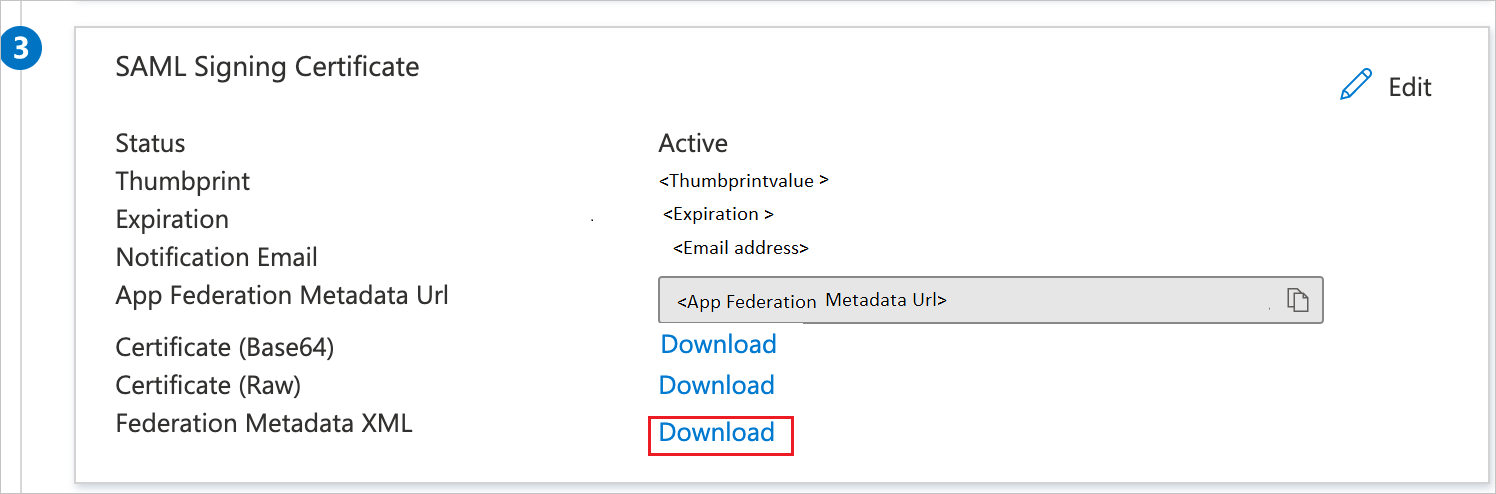
If you still have issues with getting users provisioned with SAML JIT, refer Just-in-Time Provisioning Requirements and SAML Assertion FieldsOn the Set up single sign-on with SAML page, in the SAML Signing Certificate section, find Federation Metadata XML and select Download to download the certificate and save it on your computer.
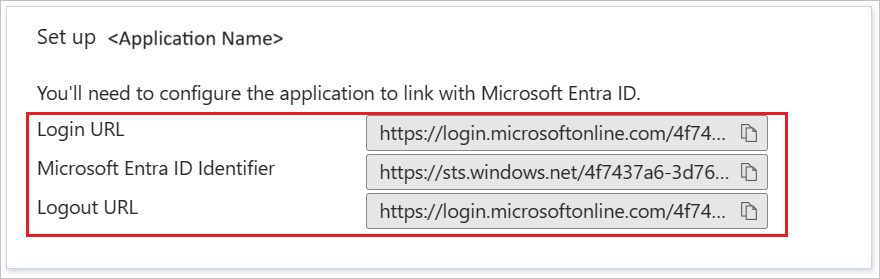
On the Set up Salesforce section, copy the appropriate URL(s) based on your requirement.
Configure Salesforce SSO


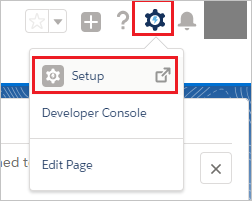
Click on the Setup under settings icon on the top right corner of the page.
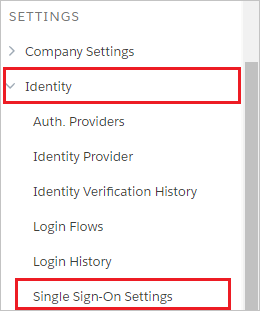
Scroll down to the SETTINGS in the navigation pane, click Identity to expand the related section. Then click Single Sign-On Settings.
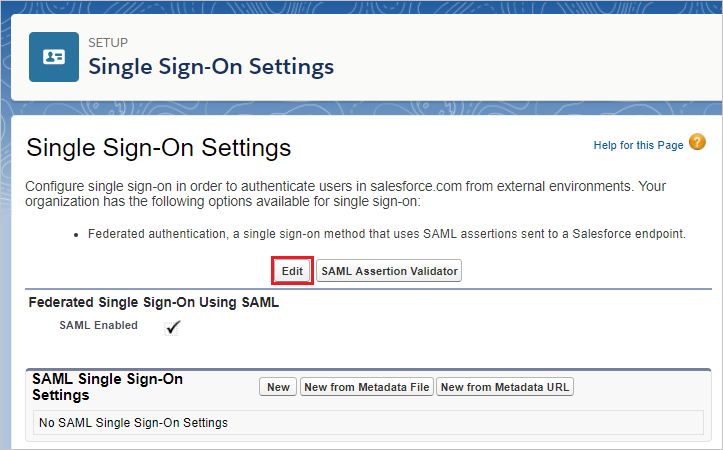
On the Single Sign-On Settings page, click the Edit button.
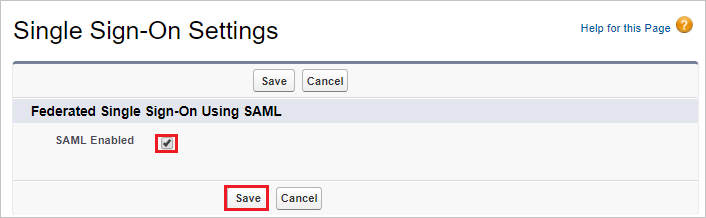
Select SAML Enabled, and then click Save.
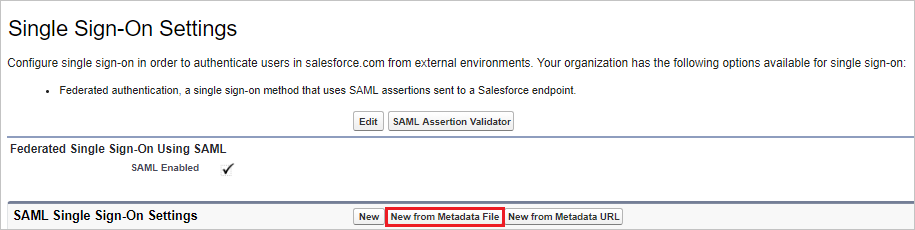
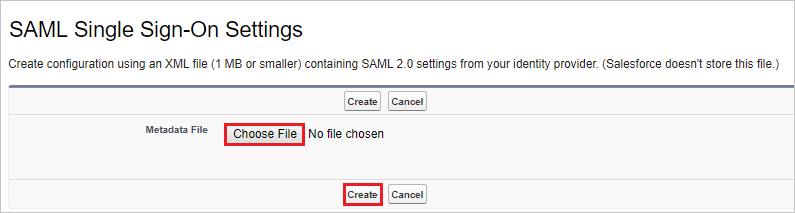
To configure your SAML single sign-on settings, click New from Metadata File.
Click Choose File to upload the metadata XML file which you have downloaded from the Azure portal and click Create.
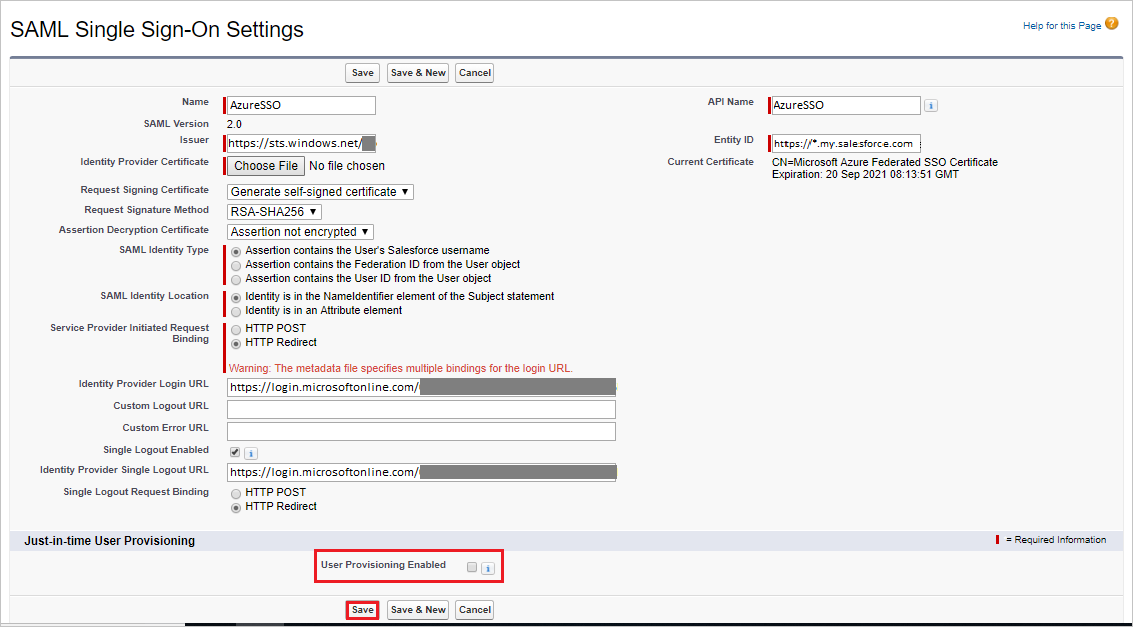
On the SAML Single Sign-On Settings page, fields populate automatically, select the User Provisioning Enabled and select SAML Identity Type as Assertion contains the Federation ID from the User object. Click Save.
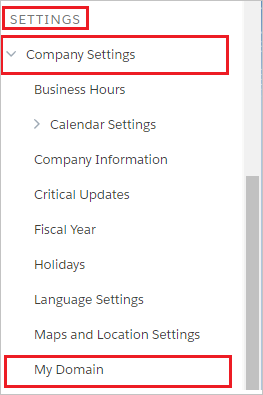
On the left navigation pane in Salesforce, click Company Settings to expand the related section, and then click My Domain.
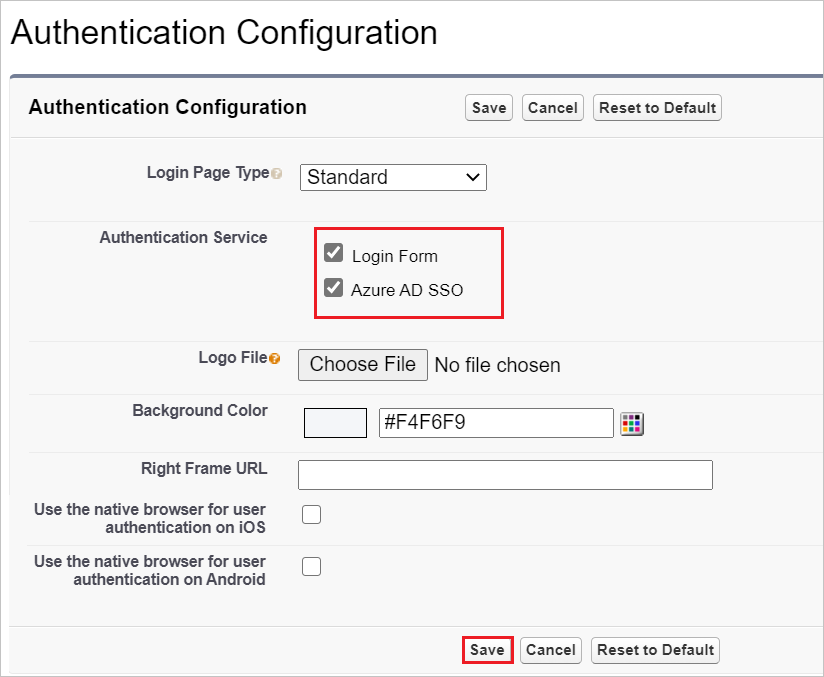
Scroll down to the Authentication Configuration section, and click the Edit button.

In the Authentication Configuration section, Check the Login Page and AzureSSO as Authentication Service of your SAML SSO configuration, and then click Save.
Test SSO
In this section, you test your Azure AD single sign-on configuration with following options.
Click on Test this application in Azure portal. This will redirect to Salesforce Sign-on URL where you can initiate the login flow.
Go to Salesforce Sign-on URL directly and initiate the login flow from there.
You can use Microsoft My Apps. When you click the Salesforce tile in the My Apps portal, you should be automatically signed in to the Salesforce for which you set up the SSO.
Comments
Post a Comment